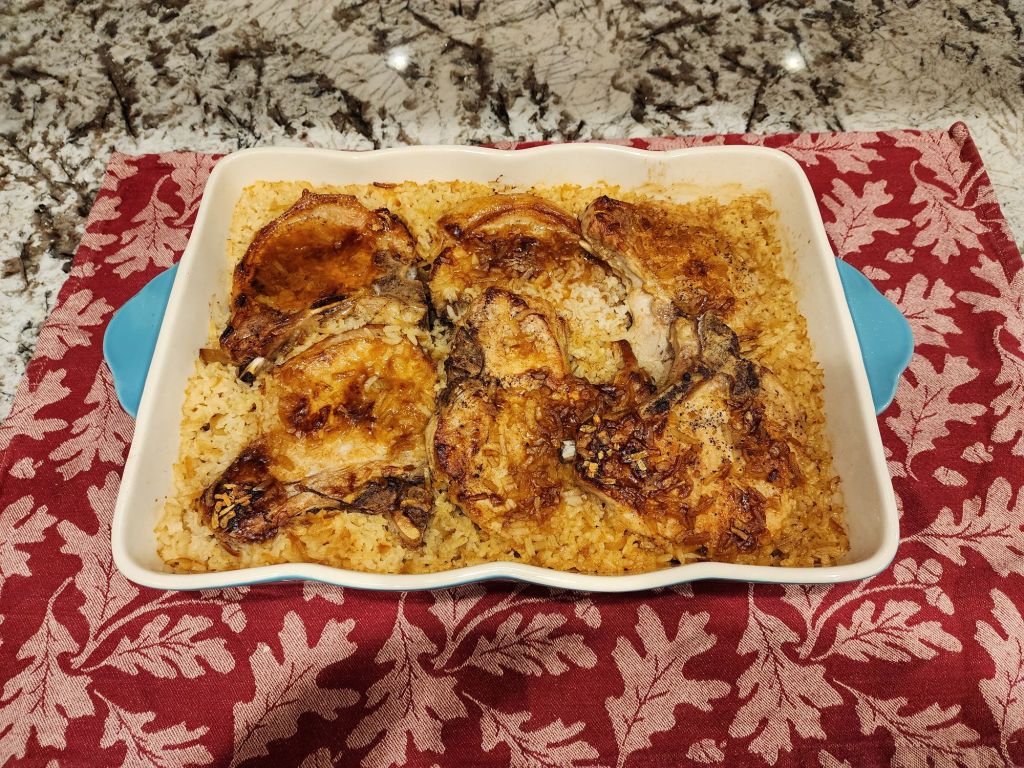
My Mom always worked when we were kids. She organized meals for the week and we would finish things up when we got home from school so that dinner was ready at 6 p.m. casseroles and one pot meals were standard fare for our large family. Back in the 70s, recipes were often found on a calendar. This recipe is one of those and I still have that calendar in the big Tupperware tub of recipes I received after Mom passed. It’s an oldie, but goodie!
Ingredients:
6 pork chops (I use bone-in, but you can use boneless if you prefer)
2 tablespoons lard (you can also use bacon drippings or oil)
2 cups Minute Rice
2 envelopes onion soup mix
2, 4 Oz. Cans mushrooms, drain, reserving the liquid
4 cups hot water
Instructions
Brown the pork chops in the hot fat. Spread the Minute Rice in the bottom of a 9×13 baking dish. Sprinkle the mushrooms over the rice and distribute 1 envelope of onion soup mix over the mushrooms. Add hot water to the reserved mushroom liquid to total 4 cups. Pour over the rice. Arrange the browned pork chops over the rice and sprinkle the other envelope of onion soup over the pork chops. Cover with foil and bake in a 350 degree oven for 45-50 minutes. Remove foil and bake for 10 minutes more.
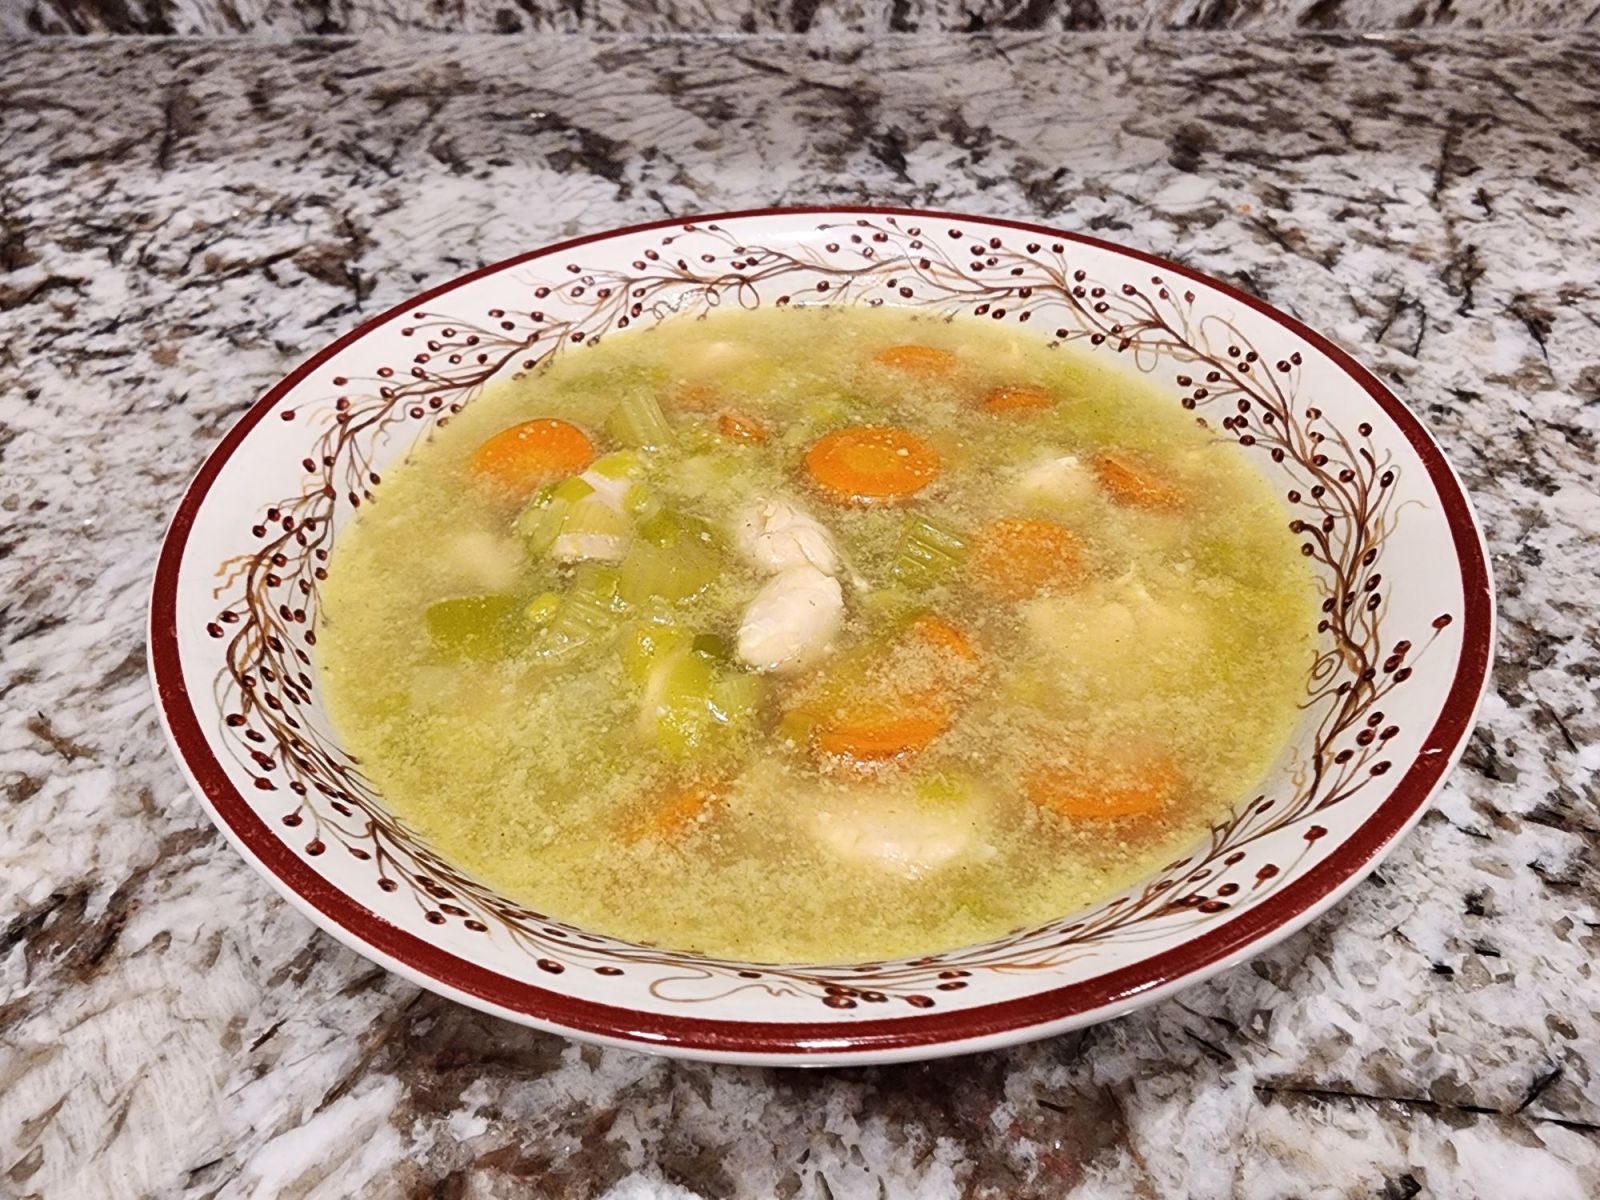
Like many other people, I have to dial back the holiday gluttony and return to a healthier lifestyle. Turmeric is heralded as a natural way of helping deal with inflammatory issues such as joint pain, liver disease, and so forth. I decided to try a chicken turmeric soup to improve our “natural” ability to deal with the aches and pains of getting older. The experiment was a success, and my husband, who is my official taste tester, approved.
A couple of things to note:
I use chicken tenders in my soup. They are quick and easy to cook and very tender. I can also more easily portion control the amount of chicken. Cooking for two is always a challenge for a woman who raised six children!
I used leeks in my soup. This isn’t an ingredient most people use regularly, so here are a couple of things you should know about leeks. They need to be WELL CLEANED before putting them in the soup pot. Unlike scallions, leeks tend to retain a large amount of dirt between the layers. Trim the tops off, cut off the root end, and cut the lead in half lengthwise. This will help you separate the layers. I usually submerge them in a bowl of water and gently clean them to dislodge the dirt before slicing them for the recipe.
INGREDIENTS:
1 pound chicken tenders 1 medium onion, diced 3 cloves garlic, finely minced 3 carrots, cleaned, unpeeled, and sliced into uniform slices about 1/4 inch thick 3 stalks celery, cleaned and diced 2 leeks, cleaned and sliced into 1/4-inch pieces 1 teaspoon turmeric 1 teaspoon poultry seasoning 1 can (13.5 oz.) coconut milk 6 cups chicken broth kosher salt black pepper
INSTRUCTIONS:
In a large stock pot, cover the chicken tenders with water and add about a teaspoon of kosher salt. Cook gently over medium heat until chicken is just cooked through and tender. Remove chicken from the broth. Add additional chicken broth to the amount in the pan to equal about 6 cups.
Add the onion, garlic, carrots, celery, leeks, turmeric, and poultry seasoning to this. Simmer until the vegetables begin to soften. Add the chicken, coconut milk, salt and pepper to taste.
Continue a gentle simmer on low to allow the spices to meld. Easy and ready to serve!
“Eating healthy doesn’t have to be boring and exploring new ingredients and methods can make most diet plans a little more sustainable.”
A great quick meal to toss together at the end of a long work day. It uses things readily on hand and is a new favorite. It is comfort food, looks and tastes great, and has the added benefit of getting a little spinach into the menu.
INGREDIENTS:
8 ounces pasta, uncooked (I use penne or farfalle, but anything you have on hand works) 2 chicken breasts, cut into uniform bite-size pieces salt and pepper to taste Flour, enough for dredging chicken pieces 2 tablespoons butter 2 tablespoons olive oil 4 cloves of garlic, minced 1/2 cup low-sodium chicken broth 1/2 teaspoon spicy brown mustard 1/2 teaspoon Italian seasoning 1 1/2 cups heavy cream 1 bag frozen, chopped spinach, defrosted and liquid squeezed out 1/2 cup freshly grated parmesan cheese
INSTRUCTIONS:
Cook pasta in a large pot of salted boiling water until it is al dente. Drain and set aside.
While the pasta is cooking, season the chicken pieces with salt and pepper. Gently dredge the pieces with flour. Heat the butter and olive oil in a large skillet over medium-high heat. When it’s hot, add the chicken and cook until just done. You can move the pieces around the pan, turning to ensure it is evenly browned on all sides and cooked through. Remove the chicken from the pan and set aside.
Let the pan cool slightly. Add the chicken broth, garlic, mustard, and Italian seasoning. Let the mixture heat until it is bubbling. Scrape the browned bits from the bottom of the pan – these are great for flavor – as you stir. Add the chicken pieces, spinach, and cream to the mixture and cook for about 5 minutes until well mixed and heated through. Add the drained pasta and parmesan cheese and toss to combine. At this point, you should taste and add additional salt and pepper if desired.
“Don’t add extra salt until after the parmesan cheese has been added. It is naturally salty and you don’t want to over salt the dish.” GRAMMY
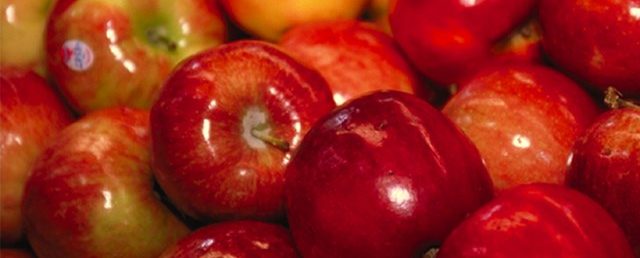
If I think of my Granny Hamilton, very particular food memories come to mind. A house on the farm that always smelled like apples. Gathering eggs and learning how to fry one a perfect over easy when I was only a preschooler. Lots of farm fresh dairy products that she used to make wonderful pies.
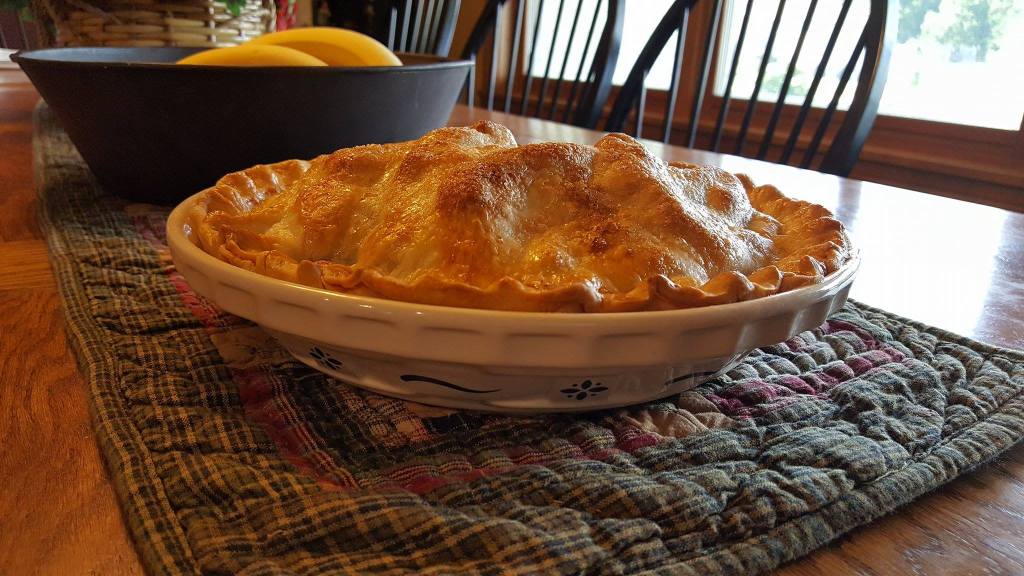
The most memorable of those pies, to me, was her Brown Sugar Pie. My dad loved that pie, especially when Granny added raisins to it. Me, I always preferred mine without the raisins. This has become my favorite cream pie. I was asked to bake one for a Callaway County Historical Society event, an old-fashioned pie supper. It was good to contribute a little piece of my family’s food history to the event.
Ingredients:
Pie Crust:
2 1/2 cups all-purpose flour 1 tsp. salt 6 TB. cold unsalted butter, cubed 2/3 cup shortening 1/2 cup ice water
Using a pastry cutter or two knives, cut the butter and shortening into the flour and salt until well combined. Work quickly to keep the butter from getting too warm. Using small amounts at a time, add water to the flour, working gently, until a dough forms. Working with your hands, separate it into 2 halves, form it into a ball, and wrap it in plastic wrap, flattening it slightly. Refrigerate at least one hour before using. Sprinkle a dusting of flour on the counter or flat surface. Using a rolling pin, gently roll into a circle about 1/8 inch thick. Using the rolling pin, transfer the dough to a pie plate and shape, crimping or fluting the edges.
To blind-bake your pie crust, preheat the oven to 425 degrees. Line the inside of the pie crust with some parchment paper. Using pie weights (you can also use dry beans or rice), bake until the edges of the pie start to turn golden. Remove the pie weights and parchment. Prick the inside of your crust to keep it from bubbling up and return to the oven. When the crust is a nice golden brown inside, remove it from the oven and let it cool.
Brown Sugar pie filling:
Ingredients: 1 cup white granulated sugar 1 cup dark brown sugar 1 cup all-purpose flour 1 8 ounce can evaporated milk Enough whole milk added to evaporated milk to equal 4 cups 4 eggs, separated 1 stick butter 1 teaspoon vanilla 1 teaspoon maple extract
Mix together the sugars and the flour in a heavy saucepan. Add the 4 cups milk and stir to blend. On medium heat, cook until the mixture just starts to bubble at the edges. Beat the egg yolks in a bowl and add some of the filling mixture to the eggs, beating them together to temper. Slowly pour the egg mixture into the filling mixture, stirring constantly. When the mixture thickens to a pudding consistency, remove from heat. Add the one stick of butter, in pats or cubes, and stir to melt and blend. Add the vanilla and maple extract. Pour the mixture into the prepared pie crust.
Meringue:
4 egg whites, room temperature 1/2 TS cream of tartar 1/8 TS salt 1/2 cup granulated sugar
Beat together the egg whites and cream of tartar at medium speed about a minute, and then beat on high speed until the meringue forms soft peaks. Add the salt and the sugar, a little at a time, and continue to beat the meringue until stiff. Spread over the top of the pie, making sure you seal in all the edges so the filling is completely covered. Use the back of a spoon to form swirls over the top of the meringue. Bake at 350 degrees until the meringue is golden.
Remove from oven and cool completely. Store in refrigerator.
I always used to make my pie crust with lard, as that was the way I was taught. Now, I often cheat and use those lovely pre-made pie crusts in the refrigerator section. Whatever works for your lifestyle is okay. The point is – EAT PIE!
My husband and I have a favorite restaurant and it has been our weekly date night place for many years. Needless to say, we have a small number of favorite things that we regularly order. I recently decided that my next great cooking adventure would be mastering the art of Asian cooking. I got two new woks for my birthday, one a heavy cast iron wok, and the other a lighter weight carbon steel wok. After a bit of study, I also purchased a number of special spices, condiments, and ingredients and I am now deep in new territory!
I’ll start sharing some of my successes on GrammyCooks.com and hope you’ll enjoy venturing into this exciting type of cooking, too! Let’s begin with one of my personal favorites, Lahp. I went in search of a version of Lahp (also called Larb) that closely matched the version at my local Thai restaurant. I found one at thewoksoflife.com I followed it closely but altered it a wee bit for both my personal tastes and also the availability of ingredients. The result was outstanding!
INGREDIENTS:
1 TBSP. toasted rice powder (this can be purchased or you can make your own) 1 TBSP vegetable oil 1 pound lean ground beef 1/4 TSP sugar 1 TBSP fish sauce (I recommend Red Boat brand) juice of 1 lime 2 shallots, sliced 3 green onions, sliced, both white and green parts 1 small white onion, cut in half and sliced 1/4 cup fresh cilantro leaves 1/2 cup fresh mint dried red chilis, optional, for added spice Cooked jasmine or sticky rice 2-3 cups spring mix lettuce Sliced cucumber
Place wok over high heat and add the vegetable oil. When oil is smoking hot, add the ground beef. Cook the beef, breaking it up and cooking until no longer pink. Add the toasted rice powder, sugar, fish sauce, and lime juice. Mix into the beef and cook for a minute or so. Add the onion, green onions, and shallots (and red chilis if using) and cook, stirring frequently, until the vegetables begin to soften. Add the cilantro and mint. Continue to cook until the herbs have wilted.
To serve, make a bed of the spring lettuce mix and top with lahp. Serve with a side of rice and garnish with cucumbers.
Lahp seems to have many variations. Play with the ingredients and spices until you find your happy place!
Bread pudding has been one of my favorite desserts since I was a child. It’s not fancy and is typically only made when I have leftover biscuits, buns, or bread that need to be used. But it is one of the most satisfying dishes in my repertoire. Today, I changed up my normal bread pudding. I had already started tearing up my biscuits and then realized that I was completely out of milk. Well, darn! As usual, I decided this was a great challenge and decided to get creative. The result is the best bread pudding I’ve ever made – this sentiment was reinforced by my husband. He said, “This is the best bread pudding I’ve ever had!” With that kind of praise, I had to share the recipe with everyone.
INGREDIENTS:
About 6 cups of stale biscuits, buns, or bread (I typically use biscuits in mine because I like the taste and texture) 2 cans evaporated milk 3/4 cup light brown sugar, packed 3 eggs 2 Tablespoons butter, melted 2 Teaspoons vanilla extract 2 Teaspoons ground cinnamon
INSTRUCTIONS:
Cut or tear the bread into cubes or bite-size pieces and place into a large mixing bowl. In a separate bowl, whisk together the milk, brown sugar, eggs, butter, vanilla, and cinnamon. Pour the milk mixture over the bread, lightly mix, and let stand about 30 minutes.
Preheat oven to 350 degrees. Butter a 9 x 13 baking dish and pour bread pudding mixture into the dish, spreading to distribute evenly. Bake the bread pudding for about 30-40 minutes or until golden on top and a knife inserted in the center comes out clean.
Serve warm with Cinnamon Vanilla Sauce.
CINNAMON VANILLA SAUCE
1 1/4 cup Natural Bliss Vanilla Flavored Coffee Creamer 1/2 cup light brown sugar 2 Tablespoons butter, melted 1 egg 1 Tablespoon flour Pinch salt 1 Teaspoon ground cinnamon 1 Tablespoon vanilla extract
In a heavy saucepan, whisk together all ingredients except the vanilla. Cook over medium heat, whisking frequently until the mixture thickens. Remove from heat and stir in the vanilla. Serve warm. Store the leftovers in the refrigerator.
Sometimes the best recipes happen by accident. This is one of those recipes. No milk? No problem! There’s a good reason I always have evaporated milk on hand and coffee creamer in my fridge!
Although I usually make the traditional favorites on holidays, this year included a few new offerings as I branched out to explore new recipes. One big hit was a Black Forest Tart made using a gluten-free approach. The presentation is impressive, but the recipe is simple and easy. Grandson Seth said, “It’s one of the best things he’s ever eaten.” That’s good enough for me to include it in future holiday menus and to share with you!
INGREDIENTS:
CRUST- 1 1/4 cups chocolate cookie crumbs (I used a gluten-free version) 1/4 cup sugar 1/4 cup butter, melted
FILLING-
1/2 cup butter 6 ounces semisweet chocolate or chocolate chips 3 large eggs, room temperature 2/3 cup sugar 1 teaspoon vanilla 1/4 teaspoon salt 2/3 cup flour (I used King Arthur’s Gluten-Free Cup-for-Cup Flour Mix)
TOPPING-
1 can cherry pie filling
INSTRUCTIONS:
In a small bowl, combine wafer crumbs and sugar and mix in butter. Press onto the bottom and up the sides of a lightly greased 11-in. fluted tart pan with removable bottom. Note: I found that I needed a few more crumbs to adequately reach the top of the tart pan. I added another 1/4 cup of crumbs, a dab more sugar, and butter.
Place the pan on a baking sheet. Bake at 350° until lightly browned, 8-10 minutes. Cool completely.
In a microwave, melt butter and chocolate; stir until smooth. (Do this in 30-second increments, stirring between each, to avoid chocolate seizing up.)Cool for 10 minutes. In a large bowl, beat the eggs, sugar, vanilla, and salt until thickened. Blend in the chocolate mixture. Stir in flour and mix well.
Pour into crust;, spreading evenly. Bake at 350° until a toothpick inserted in the center comes out clean, about 25-30 minutes. Cool completely. Spread pie filling over the top.
Refrigerate until serving. Slice in small wedges and serve garnished with whipped cream and shaved chocolate.
Use a sharp knife to cut and dip in warm water between slices to make smooth and even cuts.
I’m always looking for something that’s a quick and easy treat to put together for a holiday. This Halloween Boo-Bark is the perfect project to do with your kids or grandkids. All it takes is milk chocolate or white chocolate almond bark and any variety of candies or salty additions you want to use. You can make it more Halloween-themed by using candy eyeballs, fall-themed nonpareils and sprinkles, and Halloween standards like candy corn or Reeses pieces. In our house, I make it with gluten-free pretzels to ensure it’s safe for some of my family members with gluten allergies. Go crazy, go wild, and be creative with your candy-making!
INGREDIENTS:
2 packages of chocolate almond bark or white chocolate candy bark Selection of candies or salty treats to add to the top, such as: Mini pretzels Salted peanuts Candy Corn Reeses Pieces Candy Eyeballs Fall colored sprinkles Mini oreo cookies or crushed cookie crumbles
INSTRUCTIONS:
Line a jelly roll pan with parchment paper. This is important or your candy will stick to the bottom of the pan and you’ll have a hard time getting it out in nice, uniform pieces.
Melt the chocolate bark in a glass mixing bowl. Microwave on high heat for about 30-45 seconds. Remove and stir. Continue microwaving in 15-second increments, stirring between each increment, until the chocolate is completely melted and smooth.
Pour melted bark into the jelly roll pan, smoothing to the edges to create an even layer of chocolate. Add your candies and salted treats to the top. Press down lightly on some of the larger items such as pretzels and candy corn to make sure they are able to adhere to the chocolate.
Allow the chocolate to completely set up in a cool place, at least overnight. Break up into smaller pieces and serve!
I like to place another sheet of parchment paper over the top of the boo-bark as I’m breaking it up to keep my hands clean and to keep the heat of my hands from smudging or melting the chocolate.
When I was a little girl, some of my earliest memories include standing in my own Granny’s kitchen on the farm and watching her cook. Before the age of five I understood where food came from because I helped gather eggs, watched Granny churn butter, and helped her make applesauce. She did things the old fashioned way, and while it’s nice to have the option to use shortcuts and kitchen gadgets, I’m glad I learned to do things by hand.
Many decades later, I’ve had the pleasure of teaching my own daughters how to do things and now have stepped into the “Grammy” shoes and find joy in spending time with grandchildren who like to learn the art of cooking, both girls and boys.
Imagine how exciting it is to get messages on Saturday mornings from my granddaughter Sophia and her mommy showing me what she’s learning to cook that day. Sophia has to be careful about her diet because she has celiac, so having a skillset that allows her to make and enjoy things within the parameters of her dietary restrictions is important.
At the present time, she is learning how to work with mixes that allow her to practice on her own. She really loves doing it by herself. The donuts pictured were made with the King Arthur GF Donut mix and were baked in a BabyCakes mini donut iron. She piped in the batter, baked for three minutes, and they turned out perfectly!
Her mommy is very supportive of this and has supplied her with the tools she needs to learn.
“I bought new mixing bowls, measuring cups and spoons, spatulas, and glass liquid measuring cups for her,” her mom, Annie, said. “She wakes up on the weekends and begs to bake. I love it!”
It’s exciting to see one more generation enjoying the time together making great food and great memories. I can hardly wait to see what Sophia masters next!
It’s the end of summer and the end of tomato season. Someone needs to tell our tomato plants! When you have lovely, big, green tomatoes on the vines, you don’t want to waste them. Make green tomatoes something to celebrate by whipping up a batch of that old southern classic, Fried Green Tomatoes.
INGREDIENTS:
2 eggs, lightly beaten 1 cup flour, divided 1 cup milk or buttermilk 1 cup yellow cornmeal 2 teaspoons salt 1 teaspoon pepper 3-5 green tomatoes cut into thick slices
Set up a dredging station using three bowls. In one bowl, beat together the eggs and milk. In another bowl mix half the flour with the cornmeal, salt, and pepper. In the final bowl place the remaining flour.
In a deep skillet, heat about a 1/2 inch of vegetable oil to about 375 degrees.
Dredge the tomato slices in plain flour, then in egg and milk mixture, then in cornmeal mixture. Place in the hot oil to fry. Cook for a couple minutes on each side or until a deep golden brown. Remove from oil and drain. Sprinkle with a little salt and serve with the condiment of your choice.
These are awesome with homemade ranch or other types of aioli’s. Be adventurous!
Make sure to use GREEN tomatoes. If the tomatoes are starting to turn a little pink, they get mushy when you fry them and you won’t like the results.